Congratulations on getting your new Trezor
Setup & take control of your Trezor with our desktop app. Download Trezor Suite below.
Version: v24.2.3 - Signature - Signing key 2020 - Signing key 2021
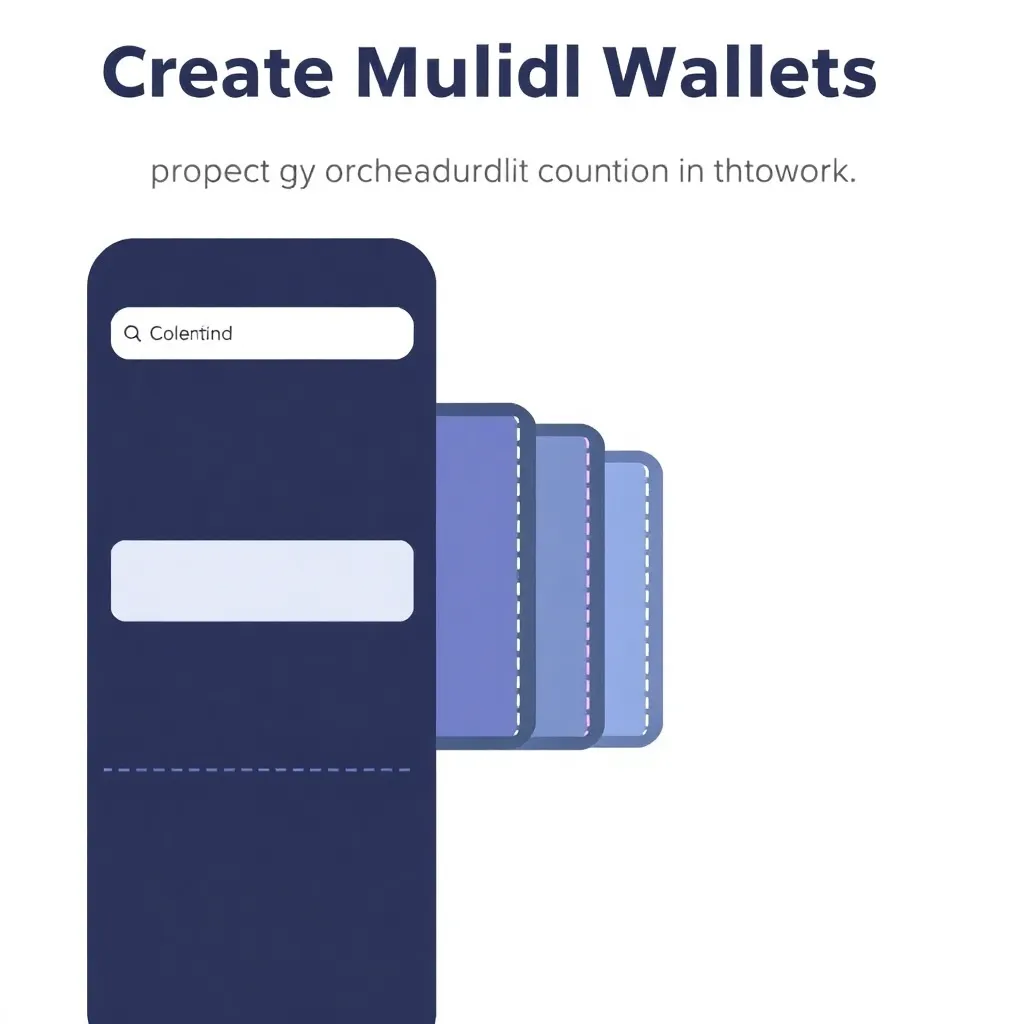
Create Multiple Wallets
Organize, store & use crypto the way you want.

Get Boss-Level Security
Set up a hidden wallet.

Earn More With Staking
Support the blockchain and collect rewards.

Sync & Track on Your Phone
Stay up to date with your portfolio using our mobile app.

Find the Best Deal
Compare exchanges, choose the best offer and trade.
Discover Trézor.io/Start
Welcome to Trézor.io/Start! This guide will help you set up your new Trezor device and get started with managing your cryptocurrencies securely.
Step 1: Visit Trézor.io/Start
To begin, open your web browser and go to Trézor.io/Start. This is the official starting point for setting up your Trezor device. The website provides a comprehensive guide to help you through the initial setup process, ensuring that you can start using your Trezor device with ease.
Step 2: Download Trezor Suite
At Trézor.io/Start, you will find the option to download Trezor Suite. This is the software you will use to manage your Trezor device. Trezor Suite is available for multiple operating systems, including Windows, macOS, and Linux. Download and install the version that is compatible with your operating system. Trezor Suite provides a user-friendly interface to manage your cryptocurrencies, making it easy to send, receive, and store your digital assets securely.
Step 3: Connect Your Trezor Device
Once Trezor Suite is installed, open the application and connect your Trezor device to your computer using the provided USB cable. Follow the on-screen instructions to complete the setup process. Trézor.io/Start provides detailed guidance on how to connect your device and ensure it is properly recognized by Trezor Suite. This step is crucial for establishing a secure connection between your Trezor device and your computer.
Step 4: Secure Your Trezor
During the setup process at Trézor.io/Start, you will be prompted to create a PIN and write down your recovery seed. These are crucial for the security of your device and your cryptocurrencies. The PIN protects your Trezor device from unauthorized access, while the recovery seed is used to restore your wallet in case your device is lost or damaged. Make sure to store your recovery seed in a safe place, as it is the only way to recover your funds if something happens to your Trezor device.
Step 5: Start Using Your Trezor
After completing the setup at Trézor.io/Start, you can start using your Trezor device to manage your cryptocurrencies. Use Trezor Suite to send, receive, and store your digital assets securely. Trezor Suite offers a range of features to help you manage your portfolio, including transaction history, portfolio overview, and advanced security settings. With Trezor Suite, you can have peace of mind knowing that your cryptocurrencies are stored securely.
For more detailed instructions and troubleshooting, visit Trézor.io/Start. The website provides a wealth of information to help you get the most out of your Trezor device, including FAQs, user guides, and support resources. Whether you are new to cryptocurrencies or an experienced user, Trézor.io/Start has everything you need to get started. Version: v24.9.2.